For the last two years, I’ve been doing a lot of markets with my neice. We typically have had successful market days however I have learned what sells and what doesn’t sell at our local markets. So, I’ve been switching from home goods to amigurumi plushys. We have hardly sold any hats, potholders, cup cozys. We do sell a few cup cozys at each market But we do very well with plushy toys and keychains. So, as I continued to do the markets. I’ve expanded my knowledge of making these little cuties. Small market makes are the best sellers.
So, what you want is some different sizes and different patterns. But having lots of different animals, plushy toys is the best way to get sales.
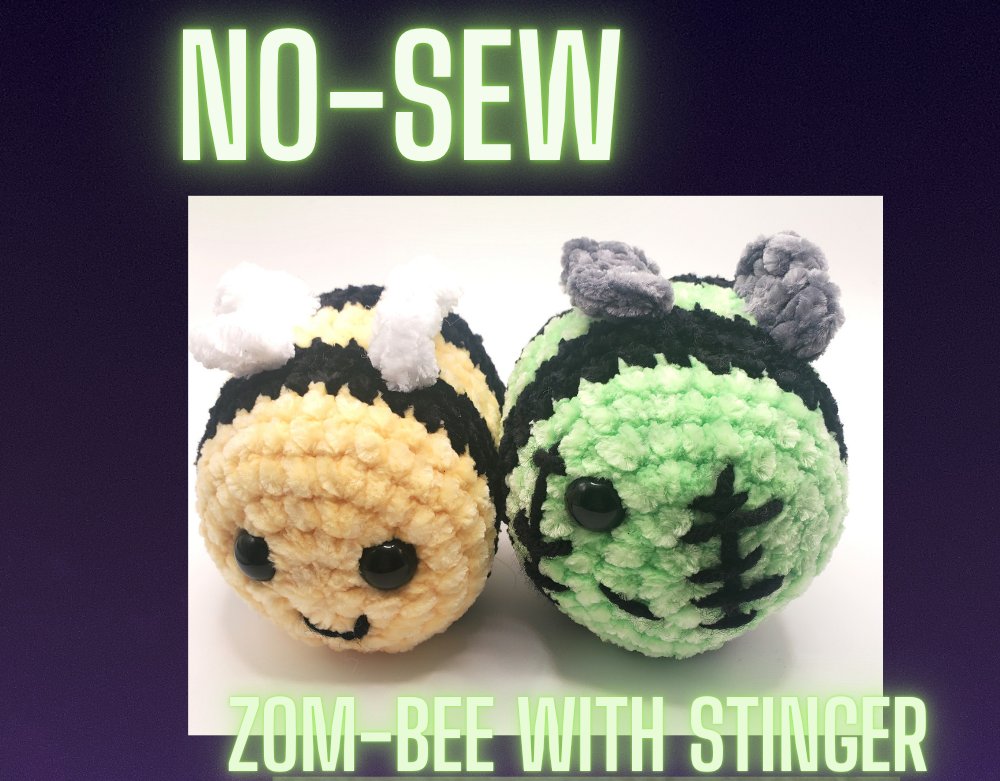
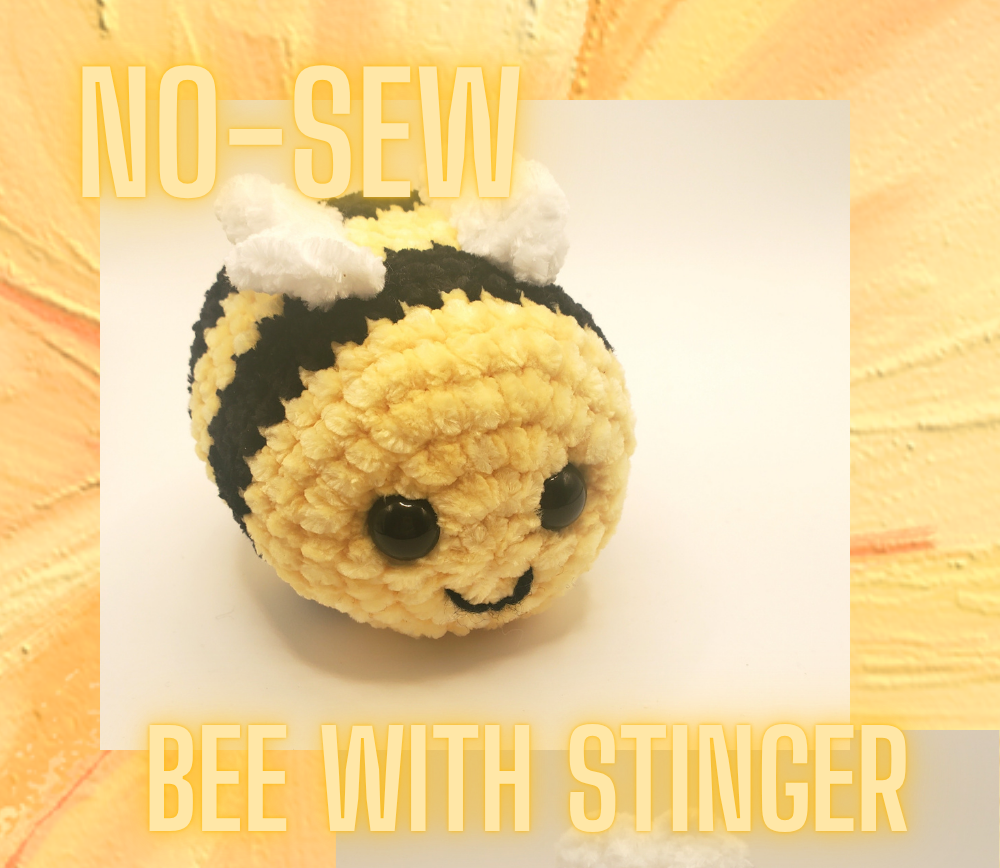
Here is my latest, little bee with a stinger. Not the same bee that everyone else makes. Its good to have new makes at markets because some people will say, “oh we have plenty of those.” But there are always people who will collect a certain animal. So, its great to have choices. There are lots of makers that make plushys these days so the competition may be there. So, try a new pattern.
I particularly love making no sew items as they work up much faster for me. So rather than making separate wings, I attach the wing color directly to the back of the bee and work my wings directly on the bee.
Everything you will need to crochet the bee
Materials
- Chenille yarn {I used premier just chenille in (Black and lemon and white) and a size 3.5mm crochet hook}
- Crochet hook size depends on the chenille yarn that you choose.
- Safety eyes or you can embroider eyes
- Fiberfill or preferred stuffing material.
- Scissors
- Stitch marker
- Yarn needle to weave in the ends.
How long does a typical project take?
This little Bee should take less than 30 minutes to make depending on your level of crochet and how fast you crochet.

Check out my Etsy storefront for this pattern and for printables for markets.


This little Bee with Stinger pattern can be found in my Etsy Store.
Pattern
Materials
chenille yarn
Safety eyes or you can embroider
eyes
Fiberfill or preferred stuffing
material.
Crochet hook size depends on the
chenille yarn that you choose.
I used premier just chenille in
(Black and lemon and white) and a
size 3.5mm crochet hook
Scissors
Stitch marker
Yarn needle to weave in the ends.
Notes
In this pattern, all rounds go right into the next round, do not slip
stitch and attach yarn or chain one or turn at the end of the round.
If you don’t want to use a Magic Ring with chenille yarn, chain 2
and make your single crochets in the first chain. To change colors,
you will add the new color at the last part of the previous stitch.
Use a stitch marker to help you keep track of your rounds.
Body
Start with yellow
Round 1: in a MR, sc x 8 (8)
Round 2: inc in each (16)
Round 3: sc, inc* repeat around (24)
Round 4: sc, sc, inc* repeat pattern around(30)
Round 5: sc in each stitch around (30)
Round 6: sc in each stitch around (30)
Change to black
Round 7: sc in each stitch around (30)
Round 8: sc in each stitch around (30)
Round 9: sc in each stitch around (30)
Change to yellow
Round 10: sc in each stitch around (30)
Round 11: sc in each stitch around (30)
Round 12: sc in each stitch around (30)
Change to black
Insert safety eyes in round 3 about 3 stitches apart.
Round 13: sc in each stitch around (30)
Round 14: sc in each stitch around (30)
Round 15: sc in each stitch around (30)
Change to yellow
Round 16: sc in each stitch around (30)
Round 17: sc, sc, dec* (24
Stuff with fiberfill
Round 18: sc, dec* (16)
Round 19; dec* (8)
Either FO and hide yarn
Optional Round 20 make a stinger change to black
and dec in all, (4). FO and hide yarn tail.
Abbreviations
sc = single crochet
inc = increase
dec = decrease
mr = magic ring
dc = double crochet
fo = finish off
ss = slip stitch
Stitches
Single crochet = insert your hook into the
loop,
yarn over and pull up a loop, yarn over
and pull through both loops.
Decrease = single crochet two together
Increase = two single crochet in the same
stitch
slip stitch = insert your hook into the
stitch, yarn over and pull through the
stitch and the loop all at once.
Double Crochet = yarn over and insert
your hook into the stitch, yarn over and
pull up a loop, yarn over and pull
through the first 2 loops, yarn over and
pull through the last 2 loops
Wings
Attach the white yarn onto the back of the bee in round 10 in the yellow stripe in the middle lining up with the
eyes chain 2, double crochet x 2 chain 2 and slip stitch, slip stitch into the next stitch in round 11, chain 2 double crochet x 2 chain 2 and slip stitch. Fo and hide the yarn tail.
Wing number 2: count 3 visible stitches over and
repeat wing pattern in the same round
Attach the white yarn onto the back of the bee in round 10 in the yellow stripe in the middle lining up with the eyes chain 2, double crochet x 2 chain 2 and slip stitch,slip stitch into the next stitch in round 11, chain 2 double crochet x 2 chain 2 and slip stitch. Fo and hide the yarn tail.
Smile
Use either embroidery thread or acrylic yarn to
embroider a smile.

If you wish to support me, my little no sew Bee with stinger pattern is also available in my Etsy Storefront as an addfree pdf that you can print out.
This post contains affiliate links for which I may make a small commission with no extra cost to you should you decide to purchase. This only keeps the blog going and I’m able to give some recommendations. Thanks for your support. Full disclosure and privacy policy here.